Object as data source in Windows Forms Data Binding
Problem Description
While I was working with Windows Forms Data Binding by using an object as Data Source, I encountered a problem with editing, adding new rows and deleting existing rows to the database. So, the DataGridView was updating according to the changes I was making, however, these changes were not being reflected in the underlying database.
Problem Source
The sources of the problem were the following (assuming that variable context refers to a entity context called NorthwindEntities):
- I was not using context.Employees.Load(), to load an ObservableCollection<T> that represents a local view of all Added, Unchanged, and Modified entities. This enables staying in sync as entities are added or removed from the context. Likewise, entities added to or removed from the local view will automatically be added to or removed from the context.
- I was not using context.Employees.Local.ToBindingList() as Datasource which creates a two way data binding.
- I was not using employeeBindingSource.EndEdit() to apply pending changes to the underlying data source.
Problem Solution
In order to get a complete picture of how to solve this type of problem, I will walk you through a complete example of creating a simple and almost completely automatized application that demos Windows Form Data Binding capabilities in Visual Studio 2012. Note that this walk through assumes that you already have a database to create an Entity Data Model and that you already know how to create a new Entity Data Model from this existing database.
Creating new solution in Visual Studio
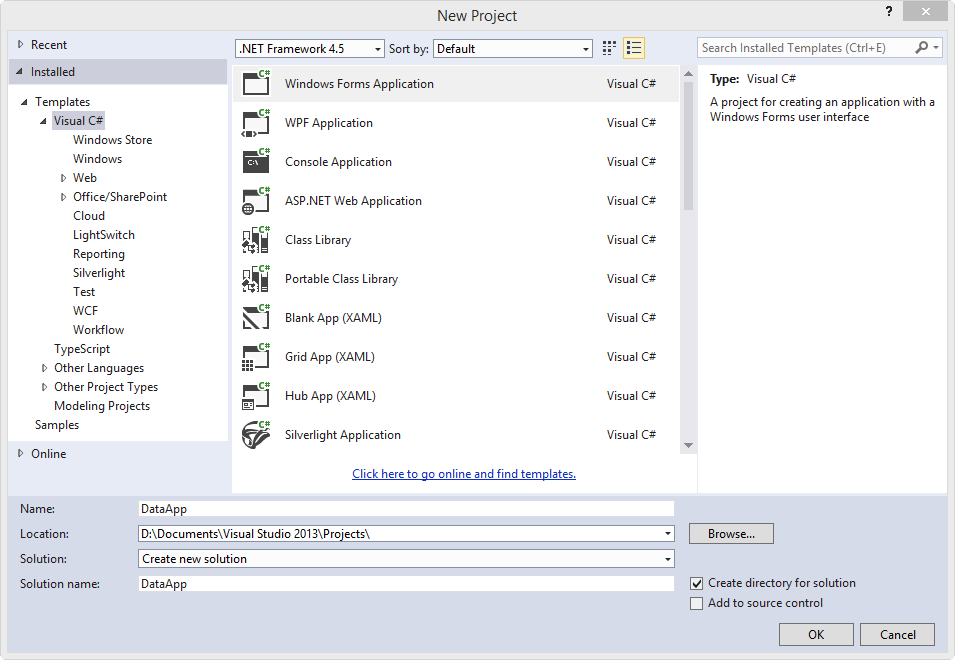
Create a new solution according to the picture below. Name it for example, DataApp.
Adding Entity Data Model
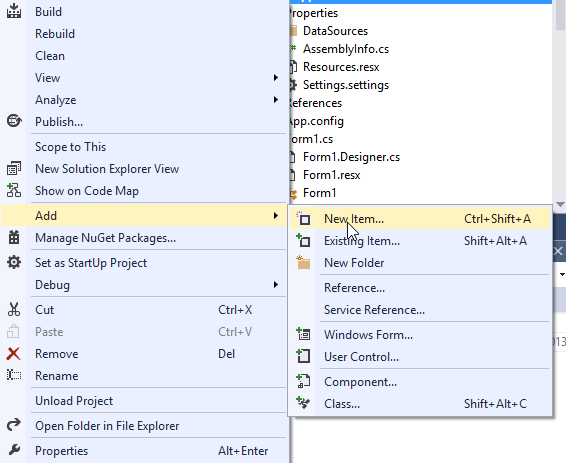
- Right-click on the project name and choose New Item according to the picture below.
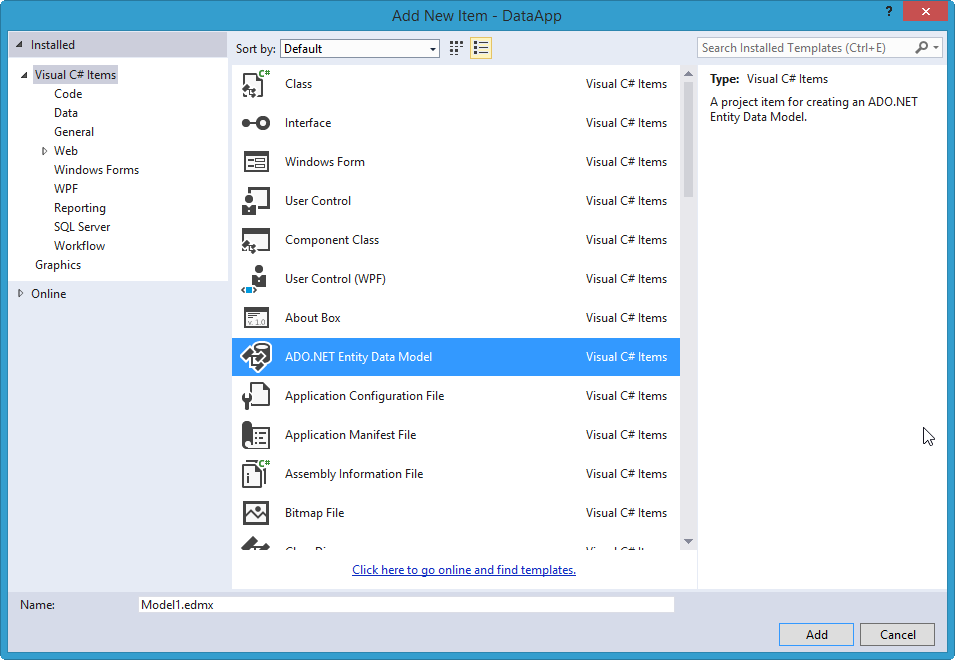
- Choose ADO.NET Entity Data Model in the dialog box that appears after clicking on New Item.. in the picture above. Then click on Add.
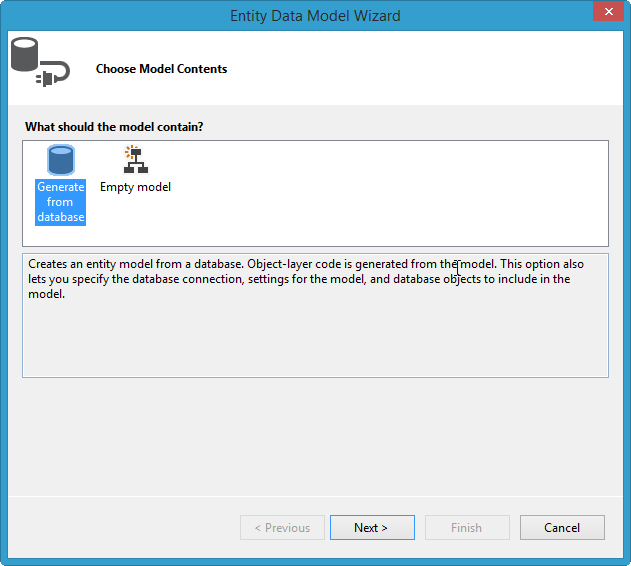
- Click on Generate from database from the new dialog window that appears and then press Next.
- In the new Dialog that appears after clicking Next from the previous step another dialog window appears. Fill in the appropriate details and then click Next again. Now, you will be presented with a dialog according to the picture below. Here you need to make sure that you choose the option No. This is the mistake I was making before. Because I was choosing the option Yes previously, the database was copied to my current project build directory, however, the changes that I made in the user interface were being reflected in the original database and not in the one being copied. I’m not sure why this is happening, if anyone knows the reason, then kindly leave a comment with an explanation in the comments section of this post.

- In the next window being displayed, choose any tables and views that you want to include and click on Finish to create an entity model from the database.
Creating and using Object Data Source
The next step is to create a Object data source from the entity model added in the previous section. Before continuing, please make sure to build the project, otherwise the object from the entity model that we want to add as data source will not appear when creating object data source. Once the project is successfully built, follow the steps outlines below:
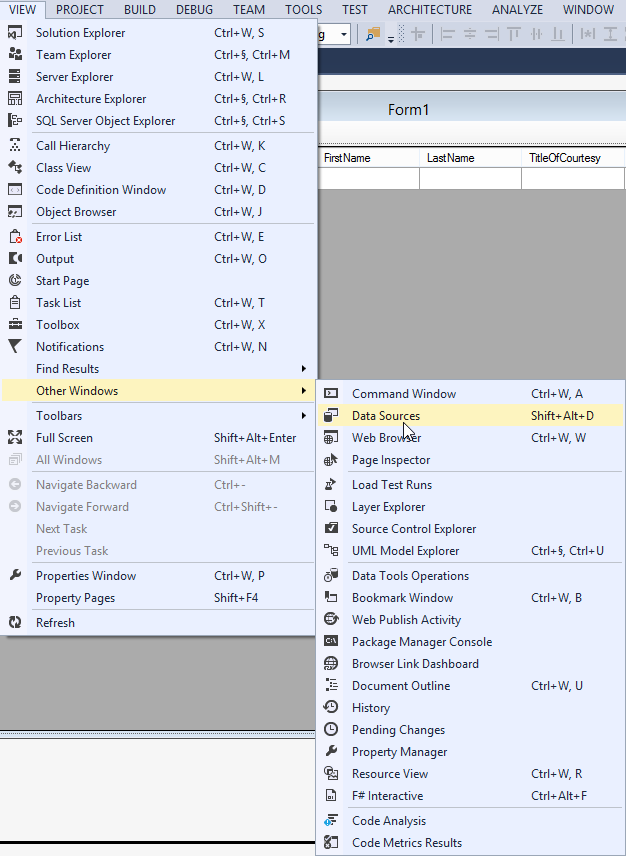
- Open Data Sources window if it already isn’t in your workspace, according to the picture below:
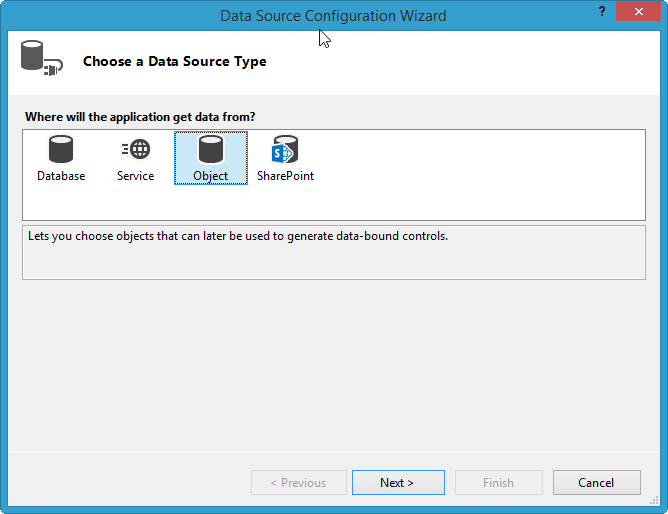
- Choose, Add New Data Source. From the dialog box that appears, choose the Object type and press Next.
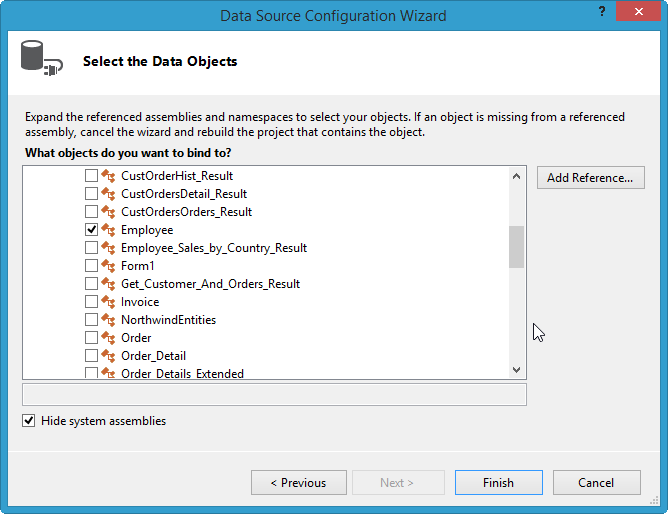
- Find the object in the list that you want to include as data source and select it. Press Finish to add the object/objects in your Data Source List. An example is given in the picture below.
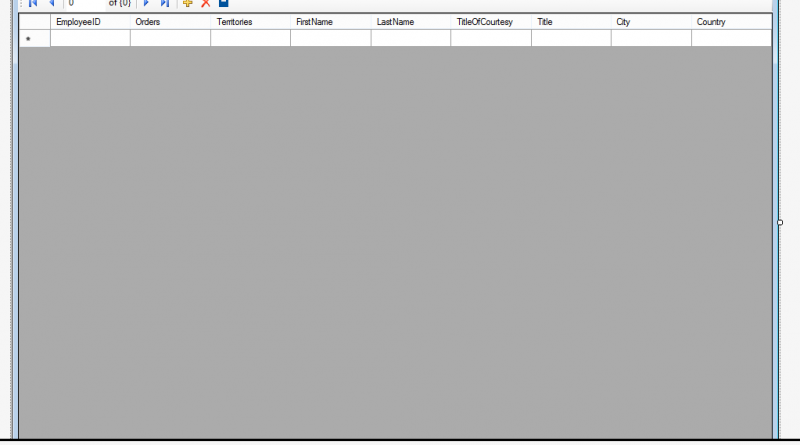
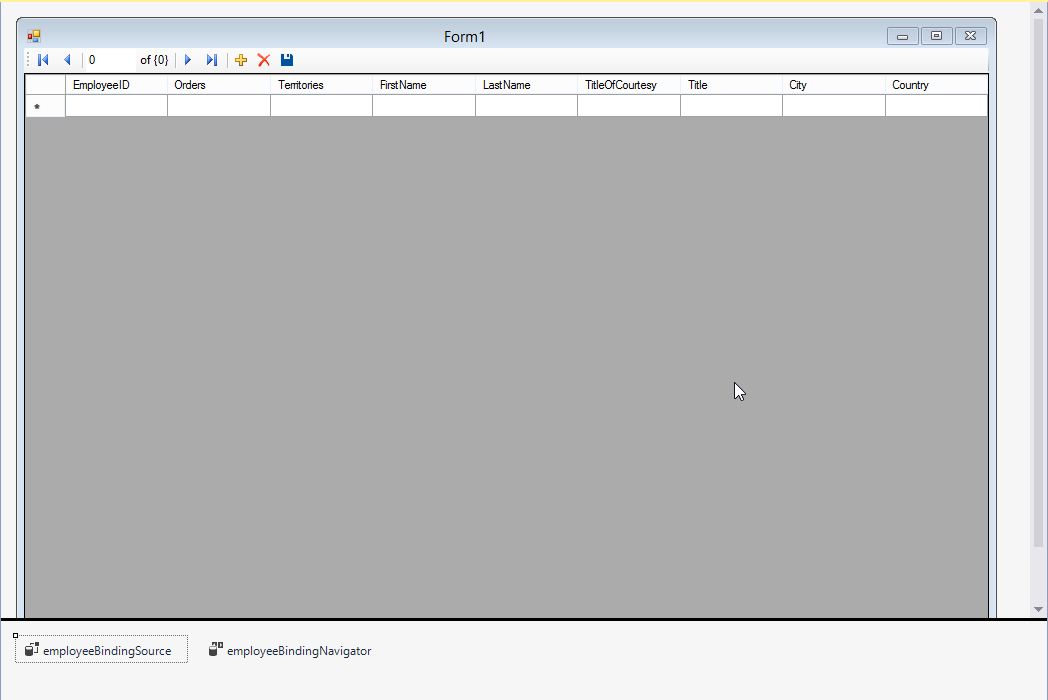
- Once the object has been added (In my case it’s the employee object), click and drag the object to the form to create a data grid object, a binding navigator object a binding source object.
Binding the database to the Form UI
- Once the UI is ready. Open the code behind file for the form and create an the entity object in the constructor (assuming that context here is defined as an instance variable):
|
1 2 3 4 |
public Form1() { InitializeComponent(); context = new NorthwindEntities(); } |
- Load the object data using the Load() method defined in the System.Data.Entity namespace (you will need to add a using statement for System.Data.Entity in order to use the Load() method). Then bind the data to the binding source object using the ToBindingList() method. An example is given below:
|
1 2 3 4 |
private void Form1_Load(object sender, EventArgs e) { context.Employees.Load(); employeeBindingSource.DataSource = context.Employees.Local.ToBindingList(); } |
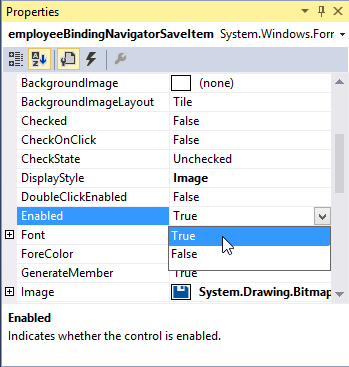
- In order to be able to save the changes we make in the UI to the database, we need to first enable the save button in the binding navigator using the property inspector window and also add a event handler for the Click event of the button.
|
1 2 3 4 |
private void employeeBindingNavigatorSaveItem_Click(object sender, EventArgs e) { employeeBindingSource.EndEdit(); context.SaveChanges(); } |
- Now everything is setup. Run the program to test it out. Now all the changes you make through the UI should be reflected in the database.
The full source code that I used for my program is given below to get a full picture of the program (I’ve included some error checking in the full source which I excluded in the explanation above for simplicity):
|
1 2 3 4 5 6 7 8 9 10 11 12 13 14 15 16 17 18 19 20 21 22 23 24 25 26 27 28 29 30 31 32 33 34 35 36 37 38 39 40 41 42 43 44 45 46 47 48 49 50 51 |
using System; using System.Collections.Generic; using System.ComponentModel; using System.Data; using System.Drawing; using System.Linq; using System.Text; using System.Threading.Tasks; using System.Windows.Forms; using System.Data.Entity.Validation; using System.Data.Entity; namespace DataApp { public partial class Form1 : Form { NorthwindEntities context; public Form1() { InitializeComponent(); context = new NorthwindEntities(); } private void Form1_Load(object sender, EventArgs e) { context.Employees.Load(); employeeBindingSource.DataSource = context.Employees.Local.ToBindingList(); } private void employeeBindingNavigatorSaveItem_Click(object sender, EventArgs e) { employeeBindingSource.EndEdit(); try { context.SaveChanges(); } catch (System.Data.Entity.Infrastructure.DbUpdateException exep) { MessageBox.Show(exep.GetBaseException().Message); } catch (System.Data.Entity.Validation.DbEntityValidationException exep) { StringBuilder message = new StringBuilder(); message.AppendLine("Errors:"); IEnumerable<DbEntityValidationResult> results = exep.EntityValidationErrors; foreach (DbEntityValidationResult result in results) { ICollection<DbValidationError> dbValidErrors = result.ValidationErrors; foreach (DbValidationError error in dbValidErrors) { message.AppendLine(error.ErrorMessage); } } MessageBox.Show(message.ToString()); } finally { employeeDataGridView.Refresh(); } } } } |